Unlocking the Perfect Steak Crust: Techniques Every Home Cook Should Know
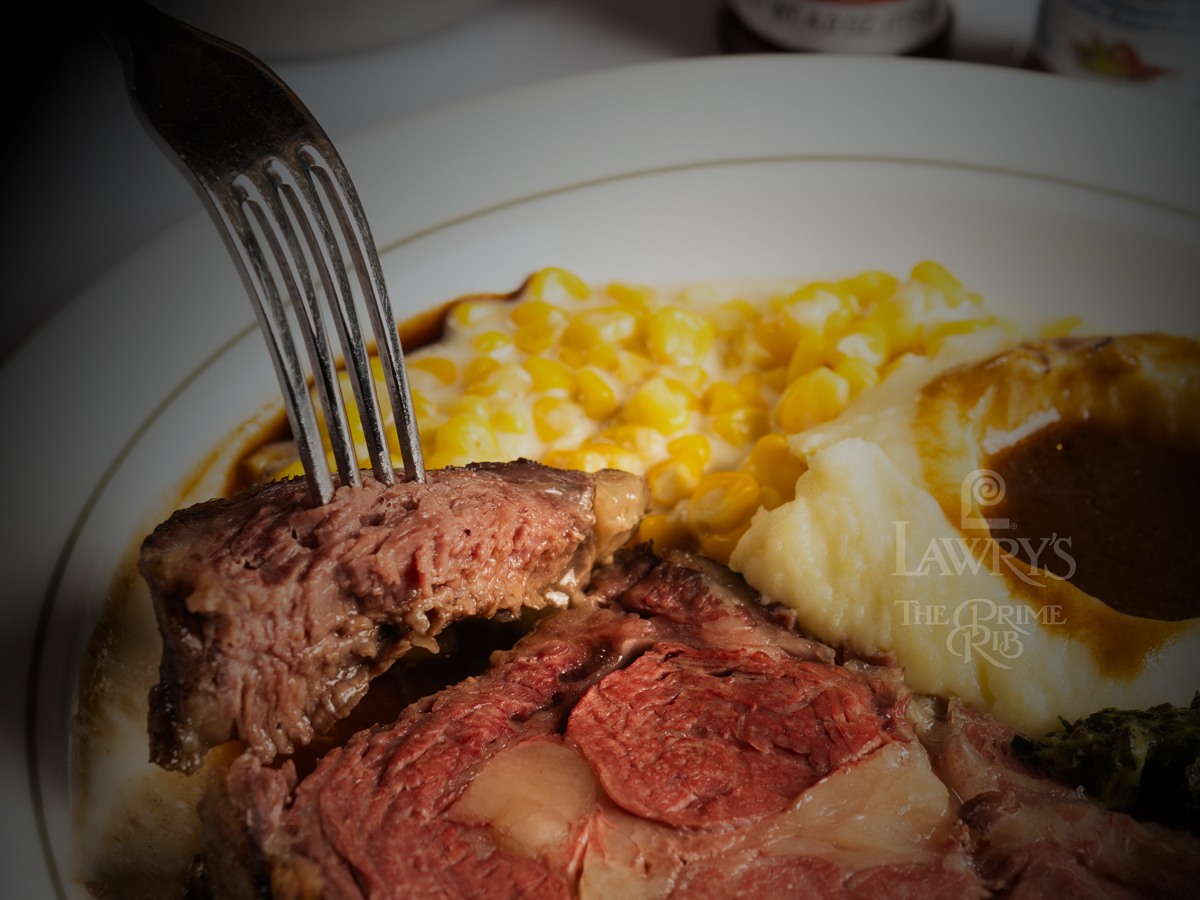
Mostly when people say they want a “great steak,” they’re usually talking about the crust. That dark, crisp, deeply browned layer on the outside is the part that smells incredible, crackles slightly when you cut it, and makes the first bite feel like a reward. A steak crust is the browned exterior that forms when the surface of the meat gets hot enough to trigger browning reactions. This is where a lot of steak’s best flavor lives. It’s also where texture shows up. The contrast between a crisp outside and a juicy inside is what makes steak feel exciting instead of, well, boiled.
Next, why does crust make steak taste better? Two reasons. First, browning creates hundreds of new flavor and aroma compounds. That’s why a well-seared steak smells “roasty” and tastes richer. Second, crust gives you texture. You get a light snap on the outside, then tenderness inside. That contrast keeps every bite interesting. Without crust, steak can taste flat, even if the inside is cooked perfectly.
Then, let’s talk about what affects crust, because crust isn’t luck. It’s physics with a little attitude. The biggest factor is moisture. Water is the enemy of browning because it keeps the surface temperature stuck around the boiling point until it evaporates. If your steak is wet, you’re steaming before you’re searing. Heat is the next factor. You need a very hot surface to brown quickly before the inside overcooks. Steak thickness matters too. A thicker steak gives you more time to build crust without blowing past your target doneness. Fat helps as well, because it conducts heat and supports browning. Finally, the cooking surface matters. A heavy pan like cast iron holds heat better, which prevents the temperature from crashing when the steak hits the pan.
After that, here are the techniques that actually deliver.
First up: dry brining. This is the easiest upgrade that makes you feel like you secretly went to chef school. Dry brining means salting the steak in advance and letting it rest uncovered so the surface dries out. Salt pulls moisture to the surface, then that salty liquid gets reabsorbed, seasoning deeper into the meat. Meanwhile, the outside dries, which sets you up for a stronger crust. Next, aim for at least 40 minutes if you can. If you have more time, 4 to 6 hours is a great sweet spot for many cuts. For maximum effect, 12 to 24 hours in the fridge works well, especially for thicker steaks. Then, right before cooking, pat the steak dry again. It sounds basic, but it works.
Second: searing. Searing is simply cooking the steak over very high heat to brown the surface fast. Start with a heavy pan or a properly hot grill. Preheat until the pan is genuinely hot, not “warm and hopeful.” Then add a high smoke-point oil, or better yet, oil the steak itself so you don’t burn a pool of oil in the pan. Place the steak down and don’t baby it. Pressing or moving it early is like trying to paint a wall while it’s still wet. Give it contact time so browning can build.
Third: multiple flips vs. single flip. This is where people get weirdly passionate. The simple truth is this: flipping more often can help you build an even crust while controlling the internal temperature. Frequent flipping, like every 30 to 45 seconds, keeps the heat moving evenly through the steak. It can reduce overcooking on one side and help avoid a thick gray band under the crust. Single flipping can still work, especially on thick cuts, but it’s less forgiving. If your heat is too high or your timing is off, you can go from “beautiful brown” to “regret” fast. So if you’re cooking at home, multiple flipping is often the calmer path.
Next, consider the two-zone method if you’re grilling. Start the steak over the hot side to build color, flipping often. Then move it to the cooler side to gently bring it up to temperature without burning the outside. After that, once it’s close to your target doneness, return it briefly to the hot zone for a final crisp-up. This method is especially useful for thick steaks because it separates crust-building from doneness.
Then there’s temperature control and a thermometer. A thermometer is not cheating. It’s like using GPS instead of yelling “I think it’s this way” while driving. Pull the steak a little below your target temp because it will keep cooking as it rests. Let it rest uncovered so the crust stays crisp, not steamy.
Finally, you can use butter basting as a finishing move, especially on thicker steaks. After searing, add butter and tilt the pan to spoon the foaming butter over the steak. This adds flavor and supports browning, but use it carefully. On thin steaks, basting can overcook the center fast.
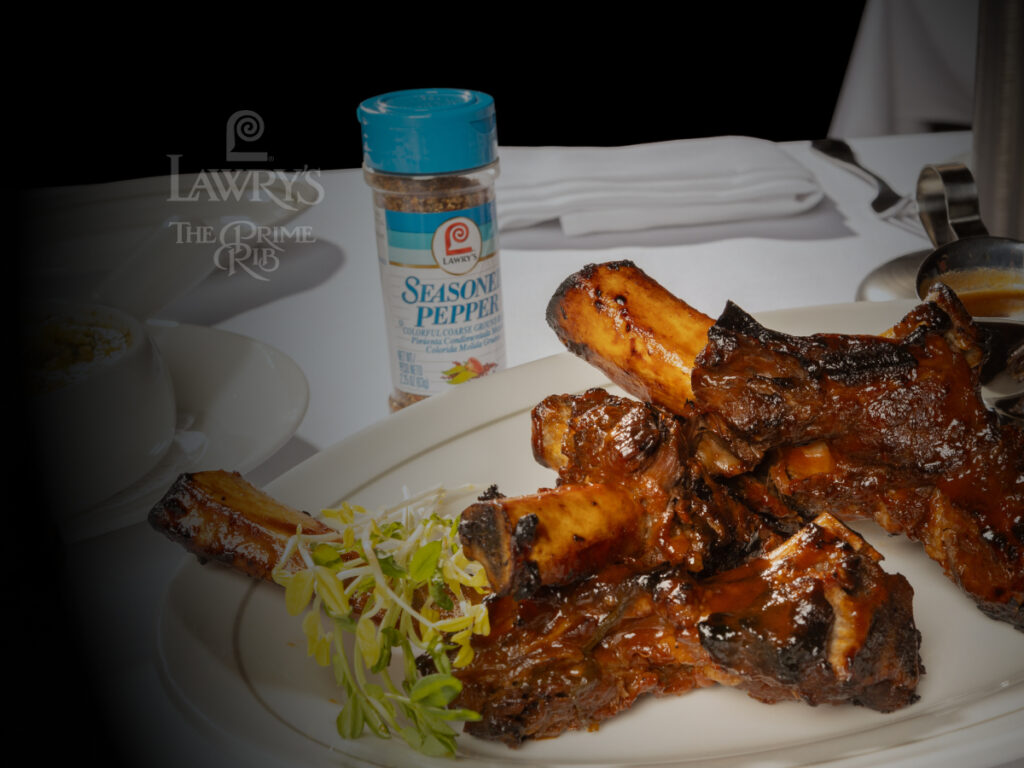
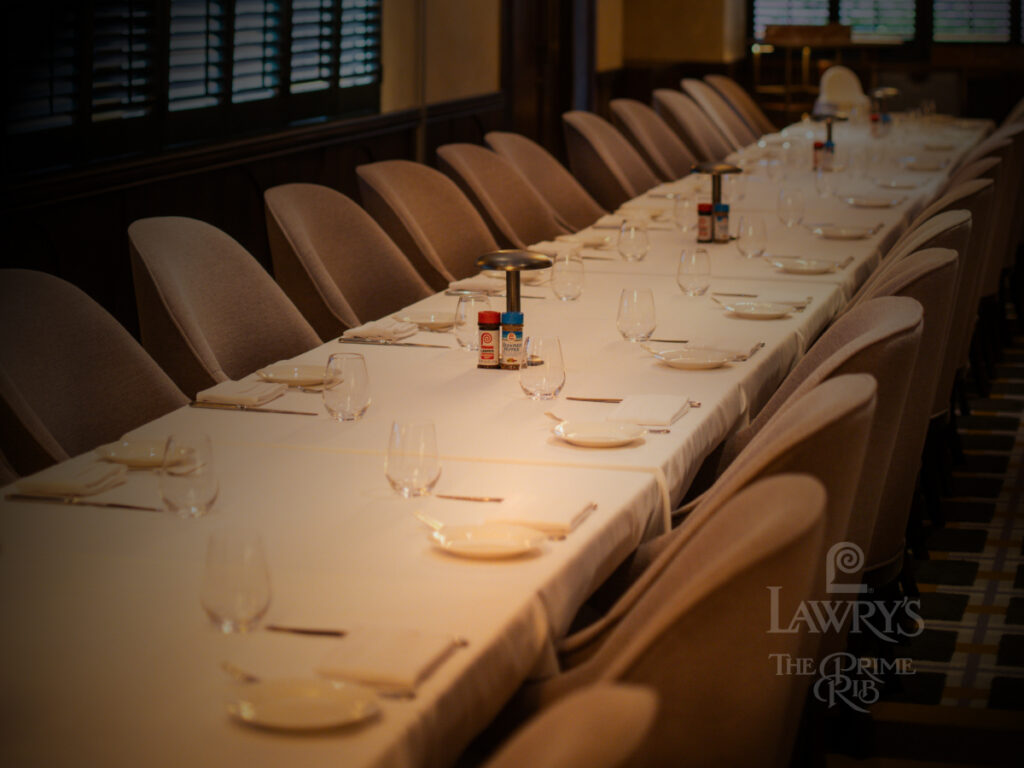
If you’re craving that perfect crust but want it done with total precision, there’s something to be said for leaving it to professionals who do it all day. For fine dining in Jakarta, Lawry’s The Prime Jakarta delivers steaks and prime rib with the kind of control home kitchens fight for. You can browse the Lawry’s menu and, when you’re ready for a luxurious and elegant night out, book your seat!
FAQ
A steak crust is crucial because it enhances both flavor and texture. The crust forms a dark, crisp, deeply browned layer on the outside, which smells incredible and makes the first bite rewarding. It creates hundreds of new flavor and aroma compounds, adding a roasty taste and snap to the steak.
Moisture adversely affects the steak crust because water keeps the surface temperature stuck around the boiling point until it evaporates. This results in steaming rather than searing. A dry surface allows for higher temperatures needed to brown the steak quickly without overcooking.
Dry brining involves salting the steak in advance and letting it rest uncovered to dry out the surface. Salt pulls moisture to the surface, which reabsorbs into the meat, seasoning it deeper. A dry outside ensures a stronger crust formation during cooking.
Multiple flipping helps build an even crust while controlling internal temperature. Frequent flipping, like every 30 to 45 seconds, ensures heat moves evenly through the steak, reducing overcooking on one side and avoiding a thick gray band under the crust.
A thermometer is essential for precise temperature control. It ensures the steak reaches your target temperature by pulling it off the heat slightly early, as it continues cooking while resting. This method avoids overcooking and keeps the crust crisp.
Reserve Table
Lawry’s Restaurants is the perfect place to begin your venue search for any occasion.