
Reverse Seared Steak: How to Get Juicy Steak and a Great Crust
There is a reason serious cooks talk about reverse seared steak the way watch collectors talk about movements and vintages. Once you understand what is happening in the pan and in the oven, you realise it is less about trend and more about precision.
Reverse searing is a two stage method that turns a thick cut steak into something evenly rosy from edge to edge with a crisp mahogany crust that snaps under the knife. The process starts low and ends blazing hot. Instead of searing first and finishing in the oven, you flip the order.
You gently bring the steak up to temperature in a low oven or on the cool side of the grill, then you finish it with a hard sear in a ripping hot skillet or over high direct heat. That order of operations is everything
Why it Works
Reverse searing leverages specific principles of cooking science for optimal results. The initial phase involves cooking the steak slowly at a lower temperature. This gentle heat allows the temperature to permeate the meat more evenly, from the edges to the center, rather than creating a steep temperature gradient. This gradual warmth helps prevent the outer layers from overcooking and drying out before the core reaches its desired doneness.
Once the internal temperature of the steak is nearly complete, the final step involves a high-heat sear. This intense heat promotes the Maillard reaction, a chemical process responsible for the deep browning and complex, savory flavors that form on the crust. By separating the cooking process into these two distinct stages, you achieve both a uniformly cooked interior and a richly flavored exterior.
How Reverse Searing Differs from the Classic Sear-First Method
The traditional steakhouse logic once suggested starting in a blazing pan to “lock in juices,” then moving the pan to the oven to coast to doneness. We now know that searing does not truly lock in anything; it primarily browns the outside. The reality of blasting a cold steak with high heat at the start is that it often creates a thick, overcooked ring before the center even reaches medium rare. You often end up with a red core, then a band of pink, followed by a wide halo of grey meat.
Reverse searing solves this common issue. Because the low oven step gently warms the steak all the way through before the final sear, you achieve an almost uniform blush from edge to center with minimal grey banding. This method also provides greater control. The low-heat stage offers a much larger window to hit your desired internal temperature, reducing the pressure of a sixty-second “pull it now or ruin it” moment often associated with traditional searing.
Why You Should Reverse Sear Your Steak
For those who appreciate precision cooking and a superior dining experience, reverse searing can elevate your home-cooked steak. This method is particularly suited for thicker cuts, ensuring that every bite delivers consistent texture and flavor. It removes much of the guesswork from achieving that ideal medium-rare.
The Benefits of Reverse Searing
One significant advantage is the minimal grey band, providing a steak that is rosy from edge to edge. The slow cooking also allows for a more tender result, as muscle fibers contract less aggressively under gentle heat. Furthermore, the dry surface achieved during the low-temperature cooking is ideal for developing an exceptional crust during the final high-heat sear, creating rich, complex flavors through the Maillard reaction. This method also offers a larger window for reaching your desired internal temperature, allowing for more controlled cooking.
The Trade-Offs of Reverse Searing
Despite its benefits, reverse searing has a few considerations. It generally takes longer than the traditional method, making it less suitable for quick weeknight meals. This technique is also not ideal for thin steaks; anything less than one and a half inches thick will likely overshoot its target temperature in the oven before you even get to the searing stage. In such cases, a classic high-heat pan sear remains the more practical approach.
Here is how to do it properly at home.
First, you start with a thick cut steak, no less than one and a half inches and preferably closer to two inches. Ribeye, New York strip, porterhouse, T bone, or filet mignon all work beautifully because they carry enough internal marbling to stay supple. Generously season the steak with salt and black pepper on all sides. For an even deeper crust later, you can leave it uncovered on a wire rack set over a tray in the refrigerator overnight. That step dries the surface and concentrates flavour while the interior stays protected.
When you are ready to cook, heat the oven to around 120 to 135°C, set the steak on that rack over the tray, and slide it in. You are not blasting it. You are letting gentle heat slowly raise the internal temperature. This even rise matters because muscle fibres tense less aggressively at low heat, and the steak cooks more uniformly instead of going grey and dry at the edges while staying underdone in the centre.
Cook until the internal temperature is about 6 to 8°C below where you want to finish. For rare, you are pulling around 40°C. Then, for medium rare, aim for 46°C. For medium, around 52°C. Use an instant read thermometer, not guesswork. Size, fat content, and oven behaviour all affect timing, so temperature is the only truth. As the steak warms in the oven, two important things happen.
First, the enzymes that live naturally in beef are active in this gentle range and begin breaking down some of the tougher proteins, which subtly tenderises the meat. Second, the surface slowly dries. That dry exterior is not a flaw. It is the foundation of your crust.
Once the steak is sitting in that pre sear zone, take it out and let it rest briefly while you heat a heavy pan over high heat. Cast iron is ideal because it holds heat and delivers it fast. When the pan is smoking hot, add a small amount of high smoke point oil, then lay in the steak. Now you are in the sear. You are not cooking the steak through here. You are developing the crust through the Maillard reaction, that deep browning that creates nutty, roasted, beef forward notes.
Sear one to two minutes per side. Tilt the steak on its edges to render and brown the fat cap. Drop the heat to medium low, add a knob of butter, and baste. At this stage you can spoon in smashed garlic cloves, thyme, or rosemary and wash the meat with the aromatic butter for about two minutes. The final internal temperature should sit at about 49 to 54°C for medium rare after carryover. The steak is ready to slice and serve almost immediately because the slow initial cook already relaxed the juices.
While you can master this technique at home, with a thermometer in one hand and cast iron in the other, you can also experience this level of control executed by professionals who perfect it night after night in a true steakhouse environment.
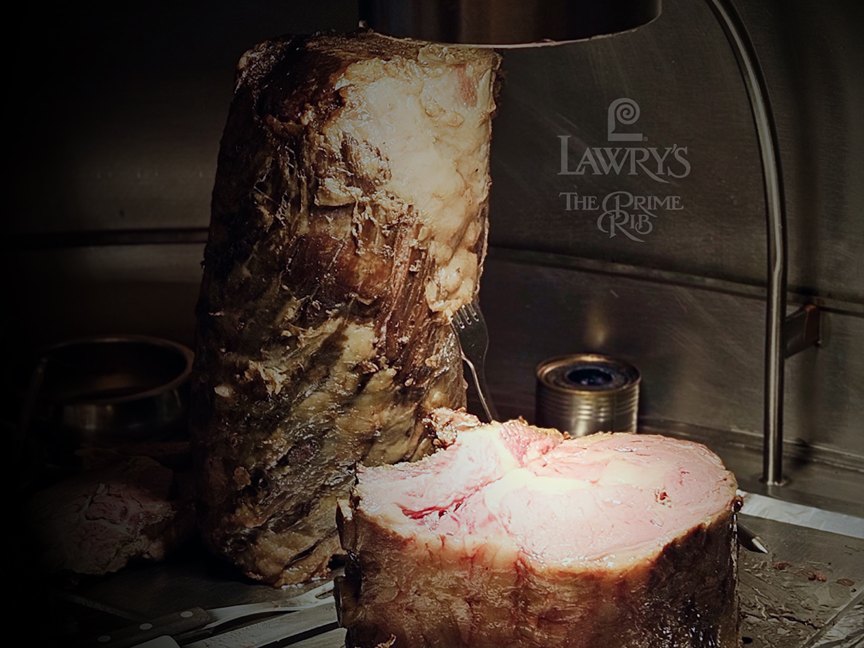
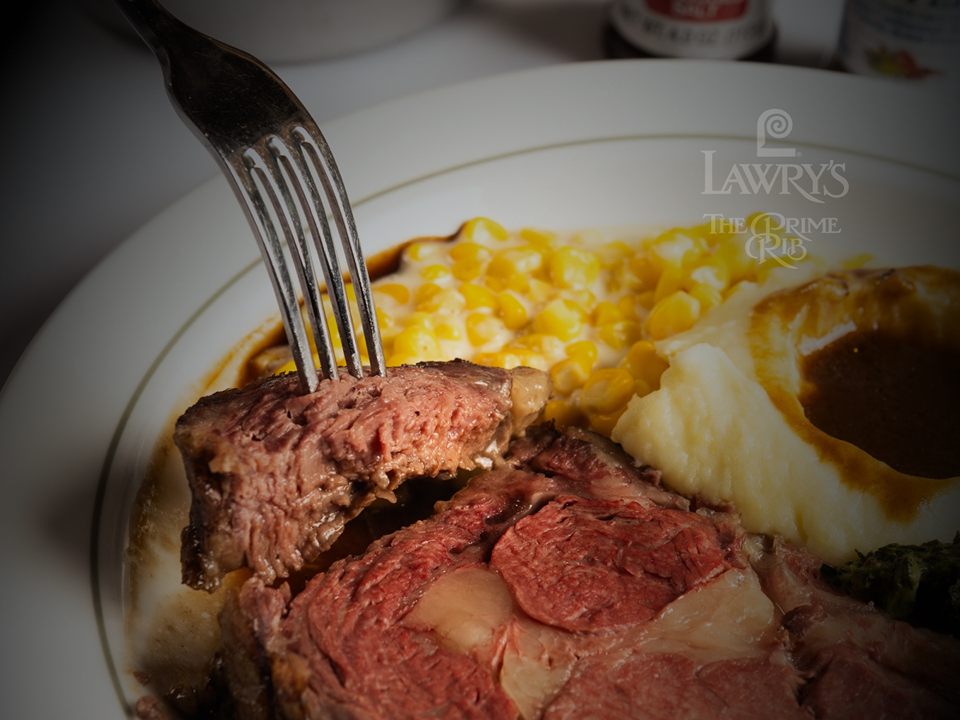
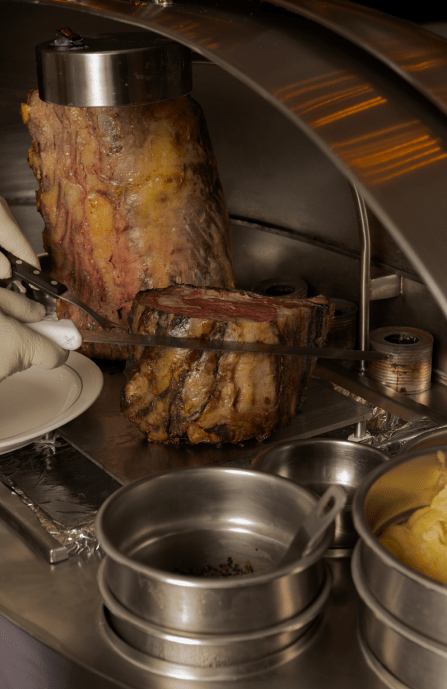
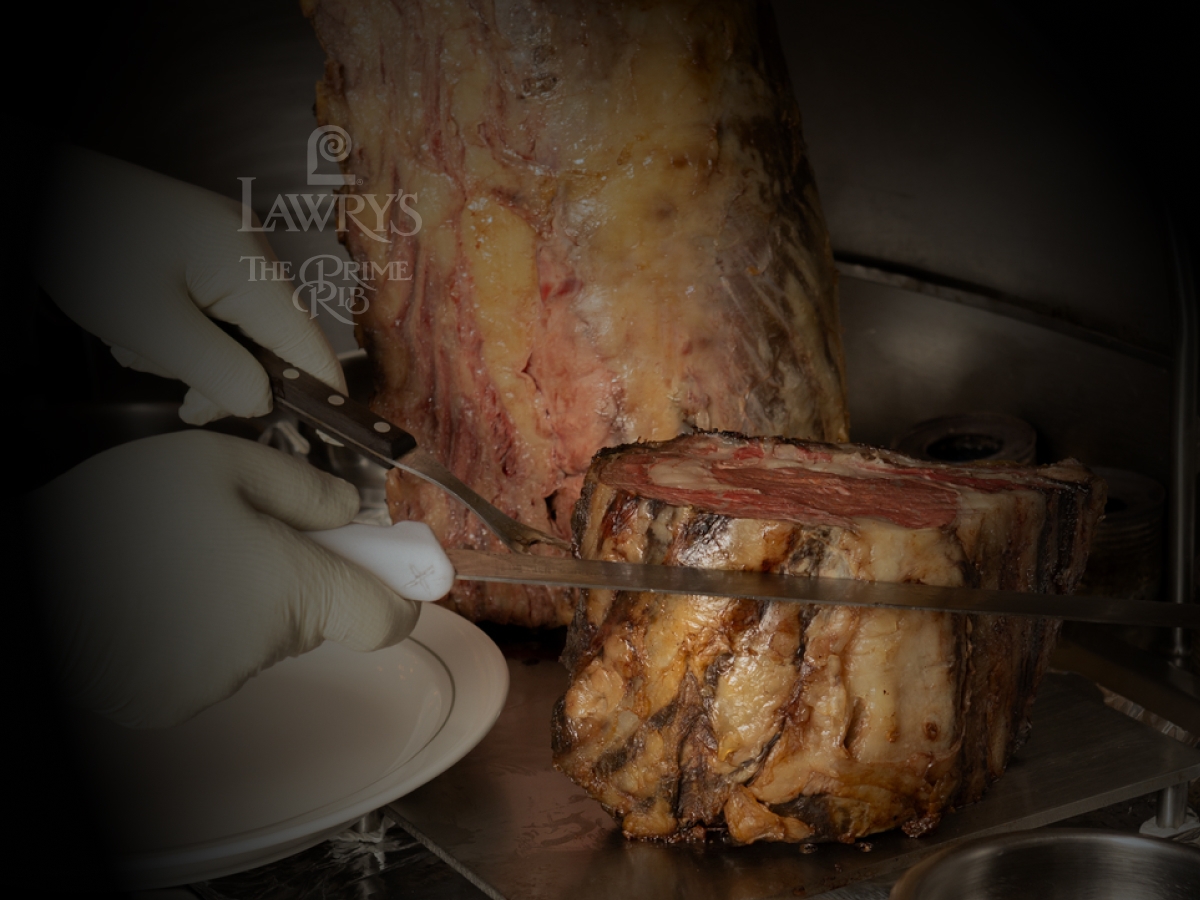
For a prime rib carved to order, steak cooked to its ideal temperature, service polished to a shine, and an atmosphere that defines fine dining Jakarta, make your way to Lawry’s The Prime Rib Jakarta.
Explore Lawry’s menu and see why a slow roasted prime rib and expertly seared steaks remain the benchmark. To plan an evening worthy of the cut, you can book your seat here or learn more about how Lawry’s converge where classic technique with indulgence.
FAQ
Reverse searing is a two-stage method where a thick cut steak is first gently brought up to temperature in a low oven or on the cool side of a grill, then finished with a hard sear in a hot skillet or over high direct heat. This technique ensures an evenly rosy interior with a crisp, mahogany crust.
The reverse sear method provides greater control and ensures that the steak is evenly cooked from edge to edge with minimal grey overcooked areas, unlike the traditional method which can result in an overcooked ring before the center reaches the desired doneness.
Thick cuts such as ribeye, New York strip, porterhouse, T-bone, and filet mignon are ideal for reverse searing because they have enough internal marbling to remain tender and juicy throughout the process.
After gently warming the steak in the oven, it is seared in a smoking hot cast iron pan with a small amount of high smoke point oil, creating a deep crust through the Maillard reaction. Finishing with butter, garlic, and herbs can enhance the flavor.
For rare, aim to pull the steak at an internal temperature of about 40°C; for medium rare, 46°C; and for medium, around 52°C before the final sear. The steak will rise a few degrees due to carryover cooking.
Reserve Table
Lawry’s Restaurants is the perfect place to begin your venue search for any occasion.